 ×
×

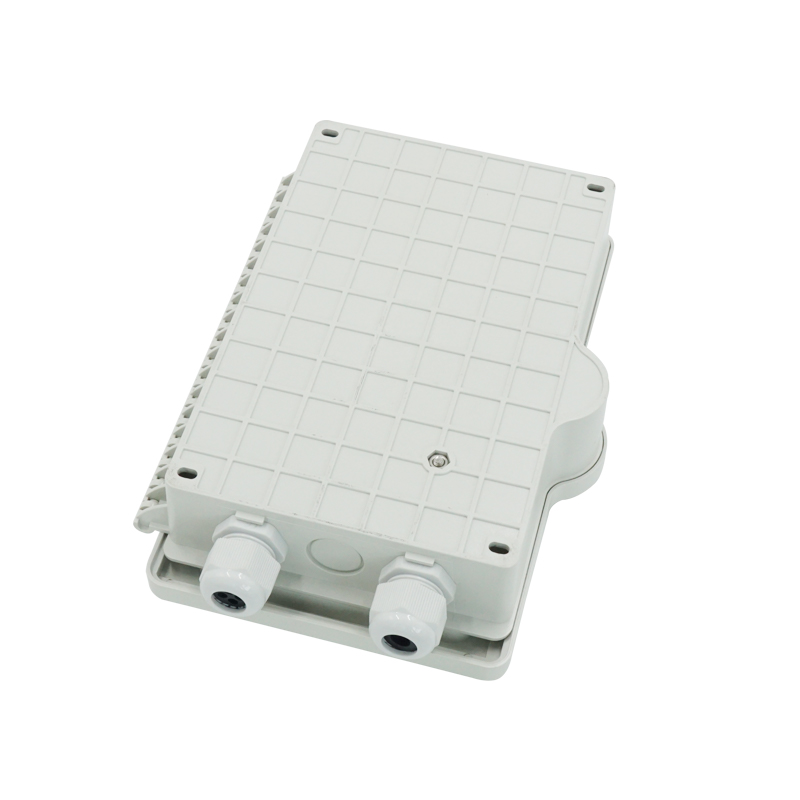
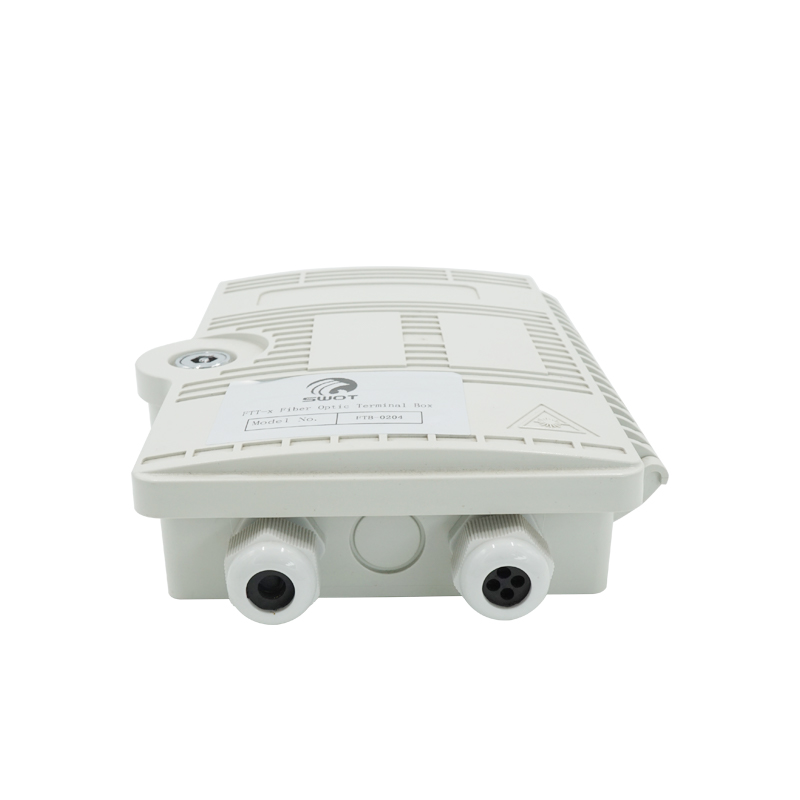
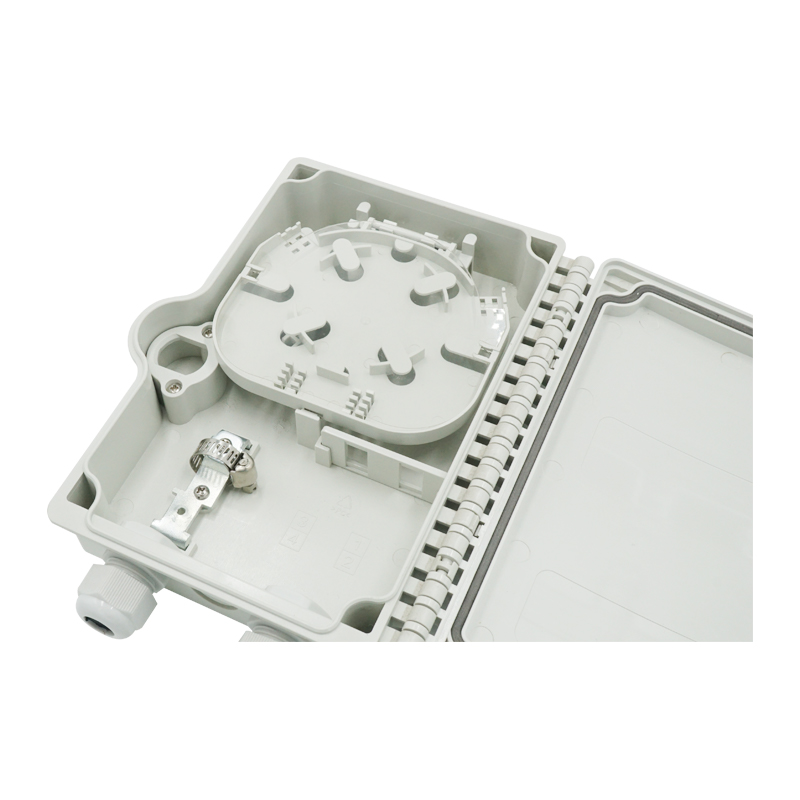
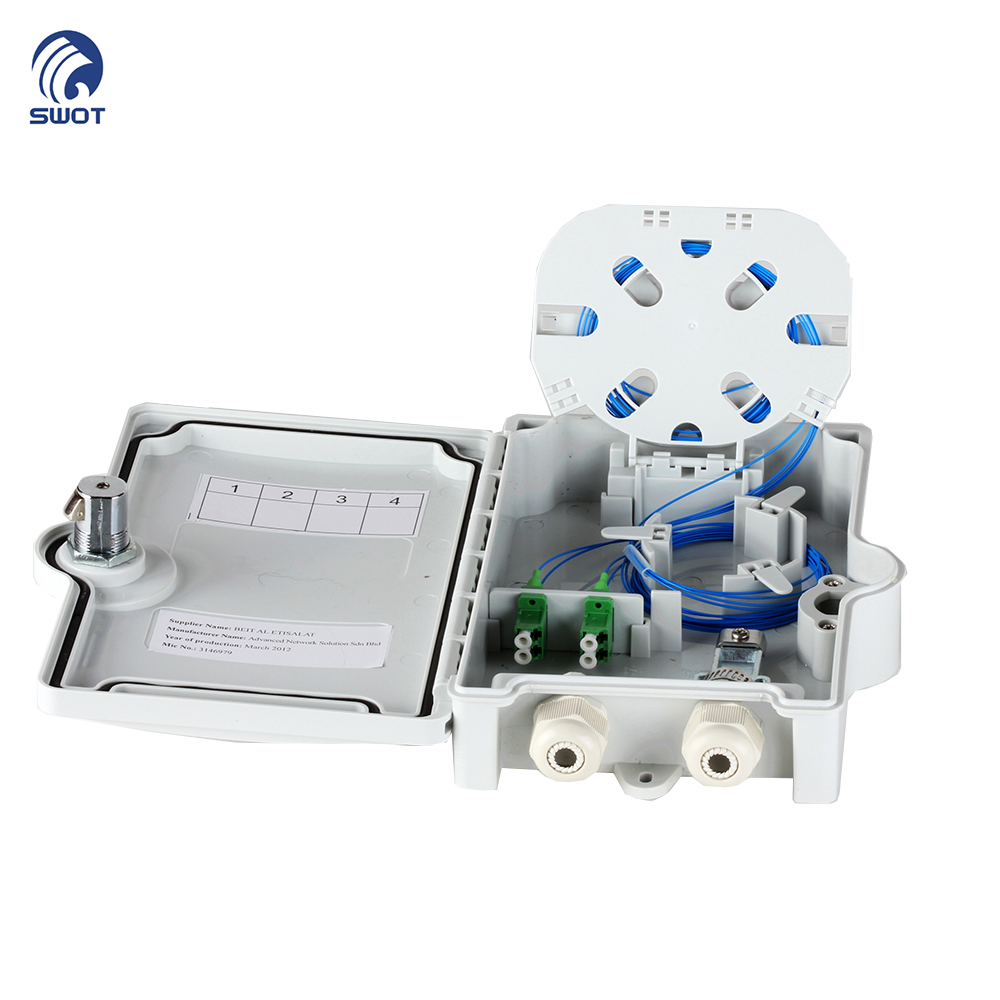
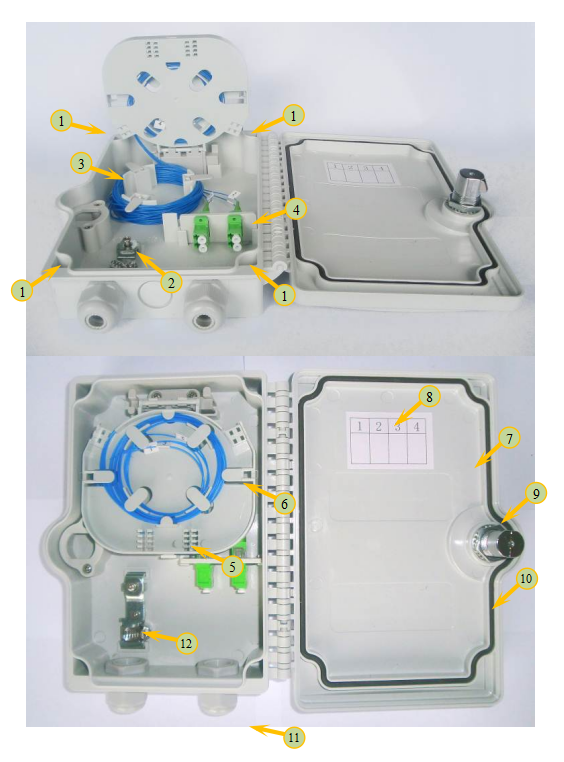
|
1 |
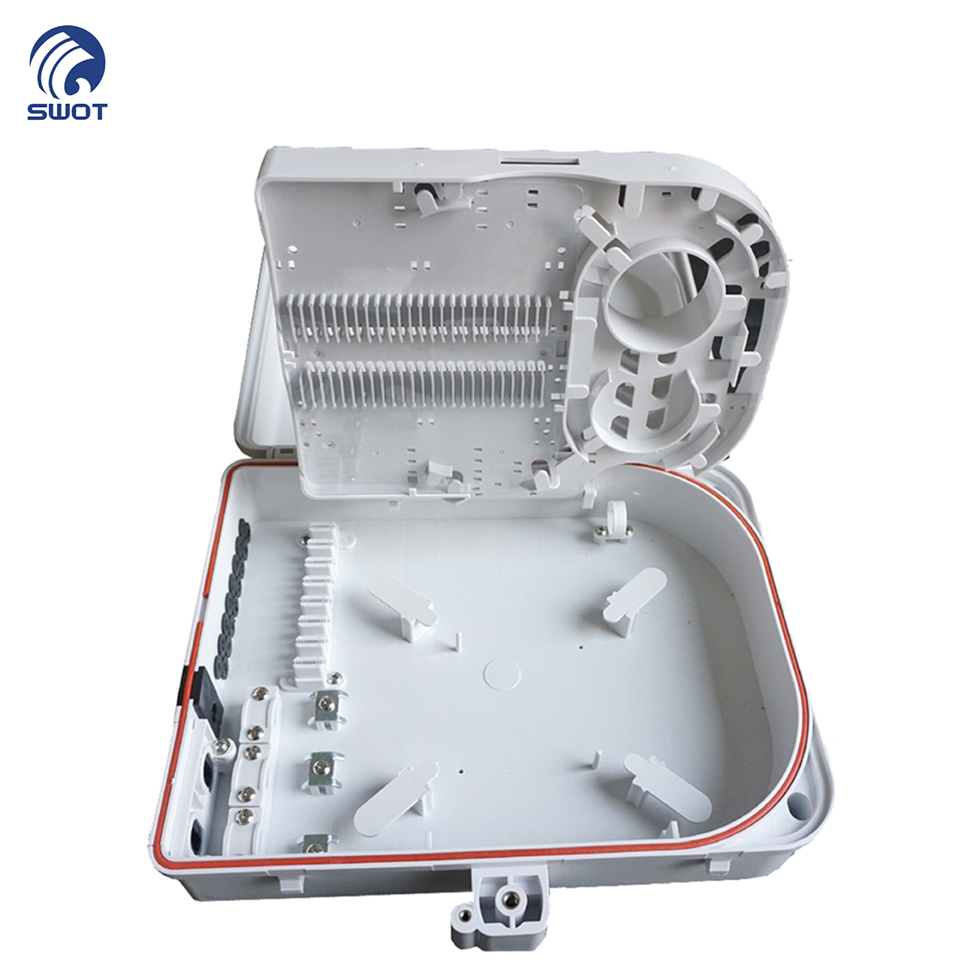
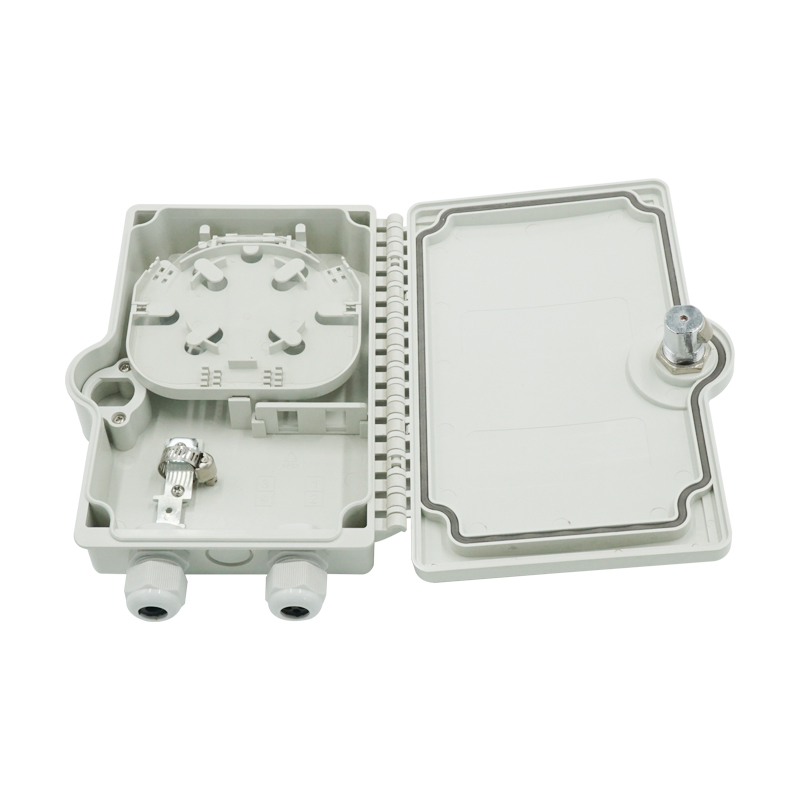
base |
|
2 |
fixing cable parts |
|
3 |
Fiber guide and storage |
|
4 |
adaptor fixing panel |
|
5 |
splice protective sleeve |
|
6 |
splice tray |
|
7 |
cover |
|
8 |
plice record |
|
9 |
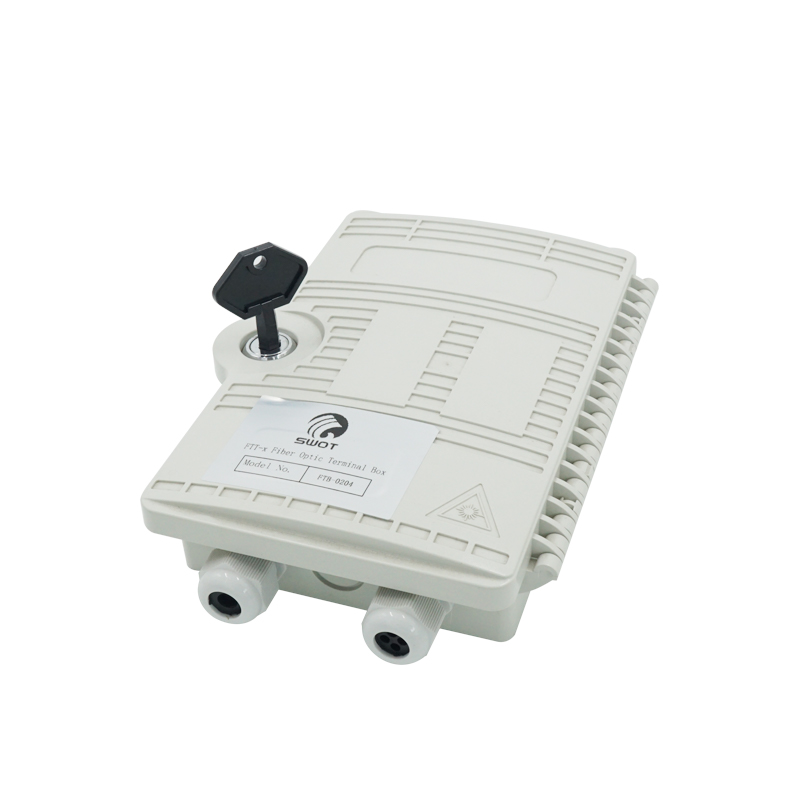
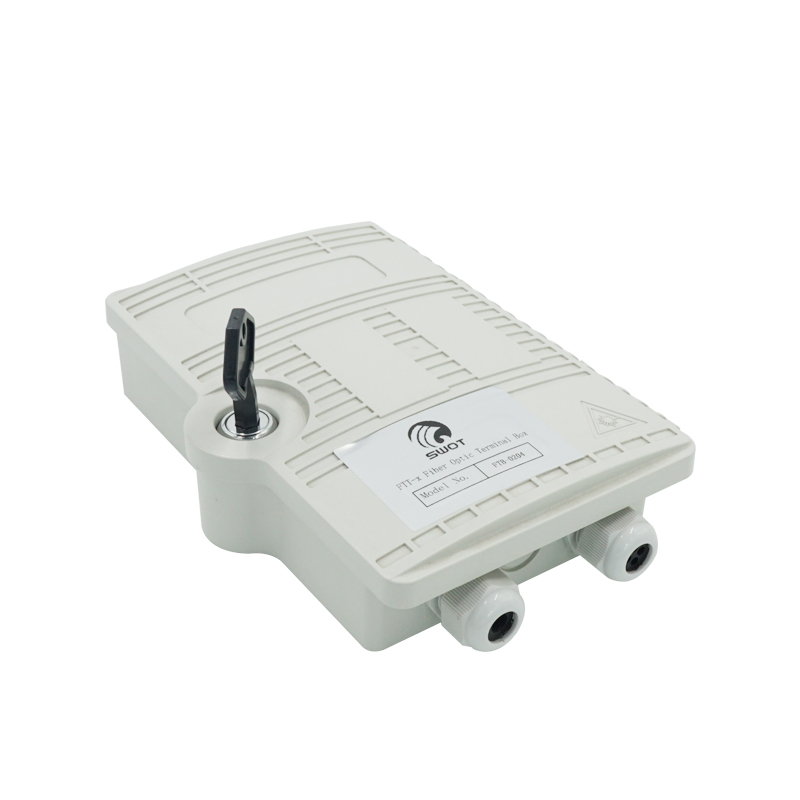
lock |
|
10 |
door seal |
|
11 |
cable gland |
|
12 |
buckle |
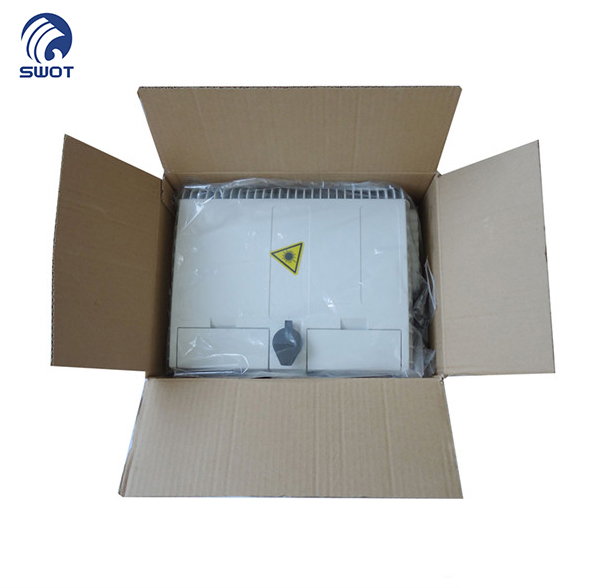
1 Open the outer package of box;
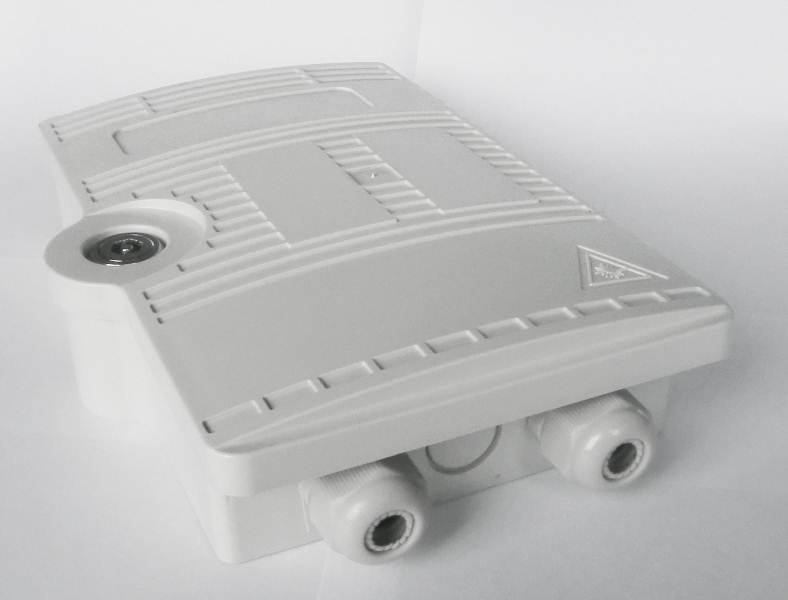
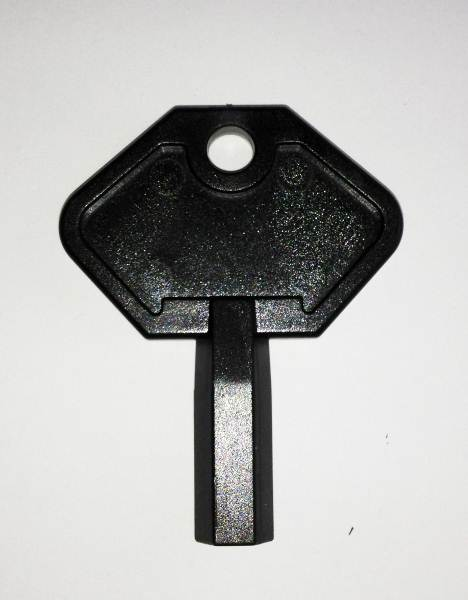
2 Using the key, open the box;
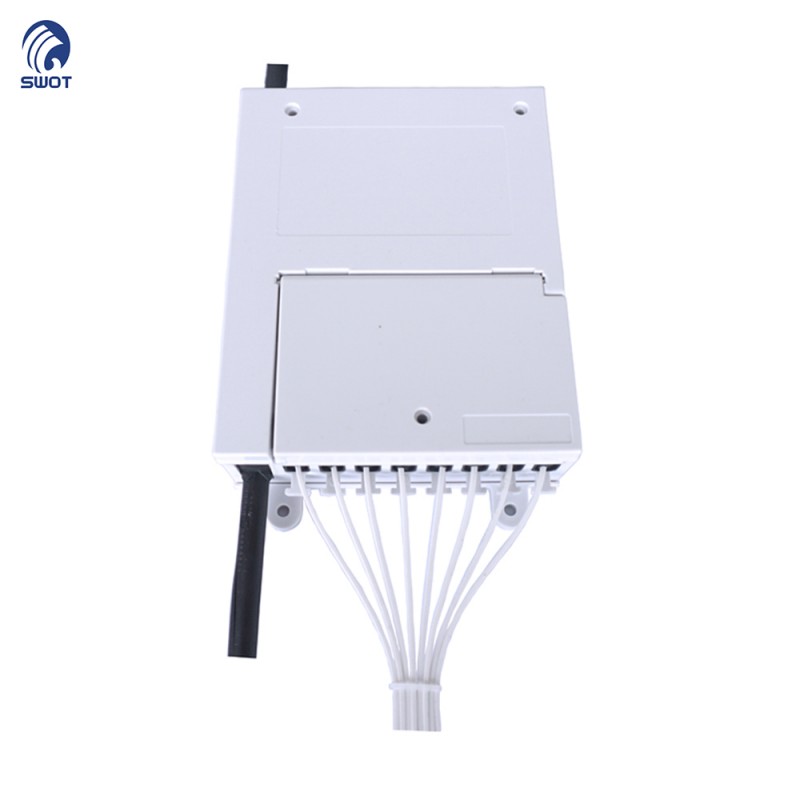
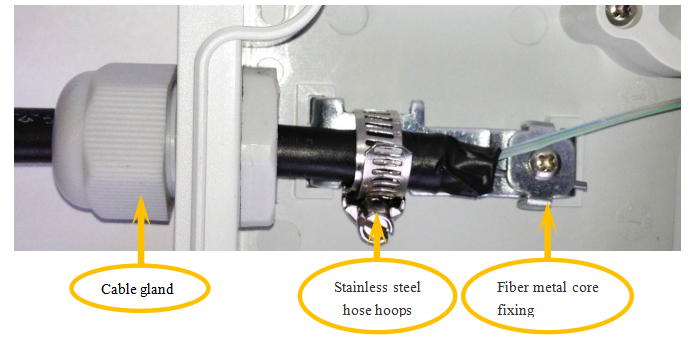
3 Introduce cable to the Fixation Kit, strip cable from 120cm below the cable head ,cover with EVA sleeve and insulating tape (sample is the case of outdoor cable inputting) introduce striped cable through adjustable gland, cover with EVA sleeve and fix with ribbon,then fix Core wire ,tighten adjustable gland.
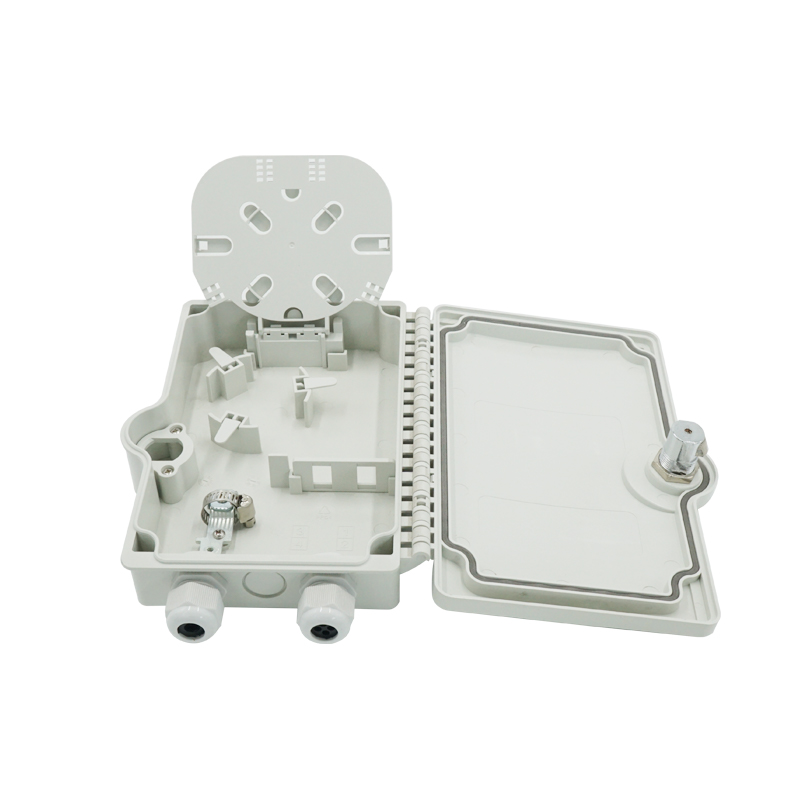
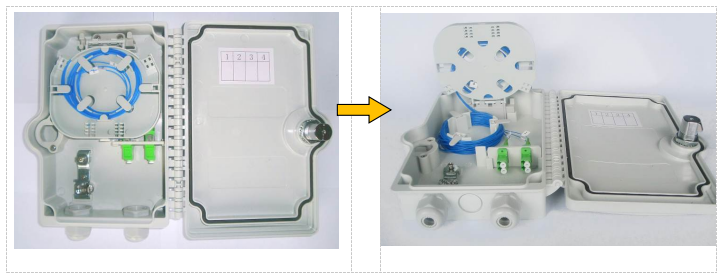
4 The splice tray can be rotated to horizontal position for easy operation and maintenance. And the splice tray is removable for the splice operation on ground. It is very convenience, as below pictures.
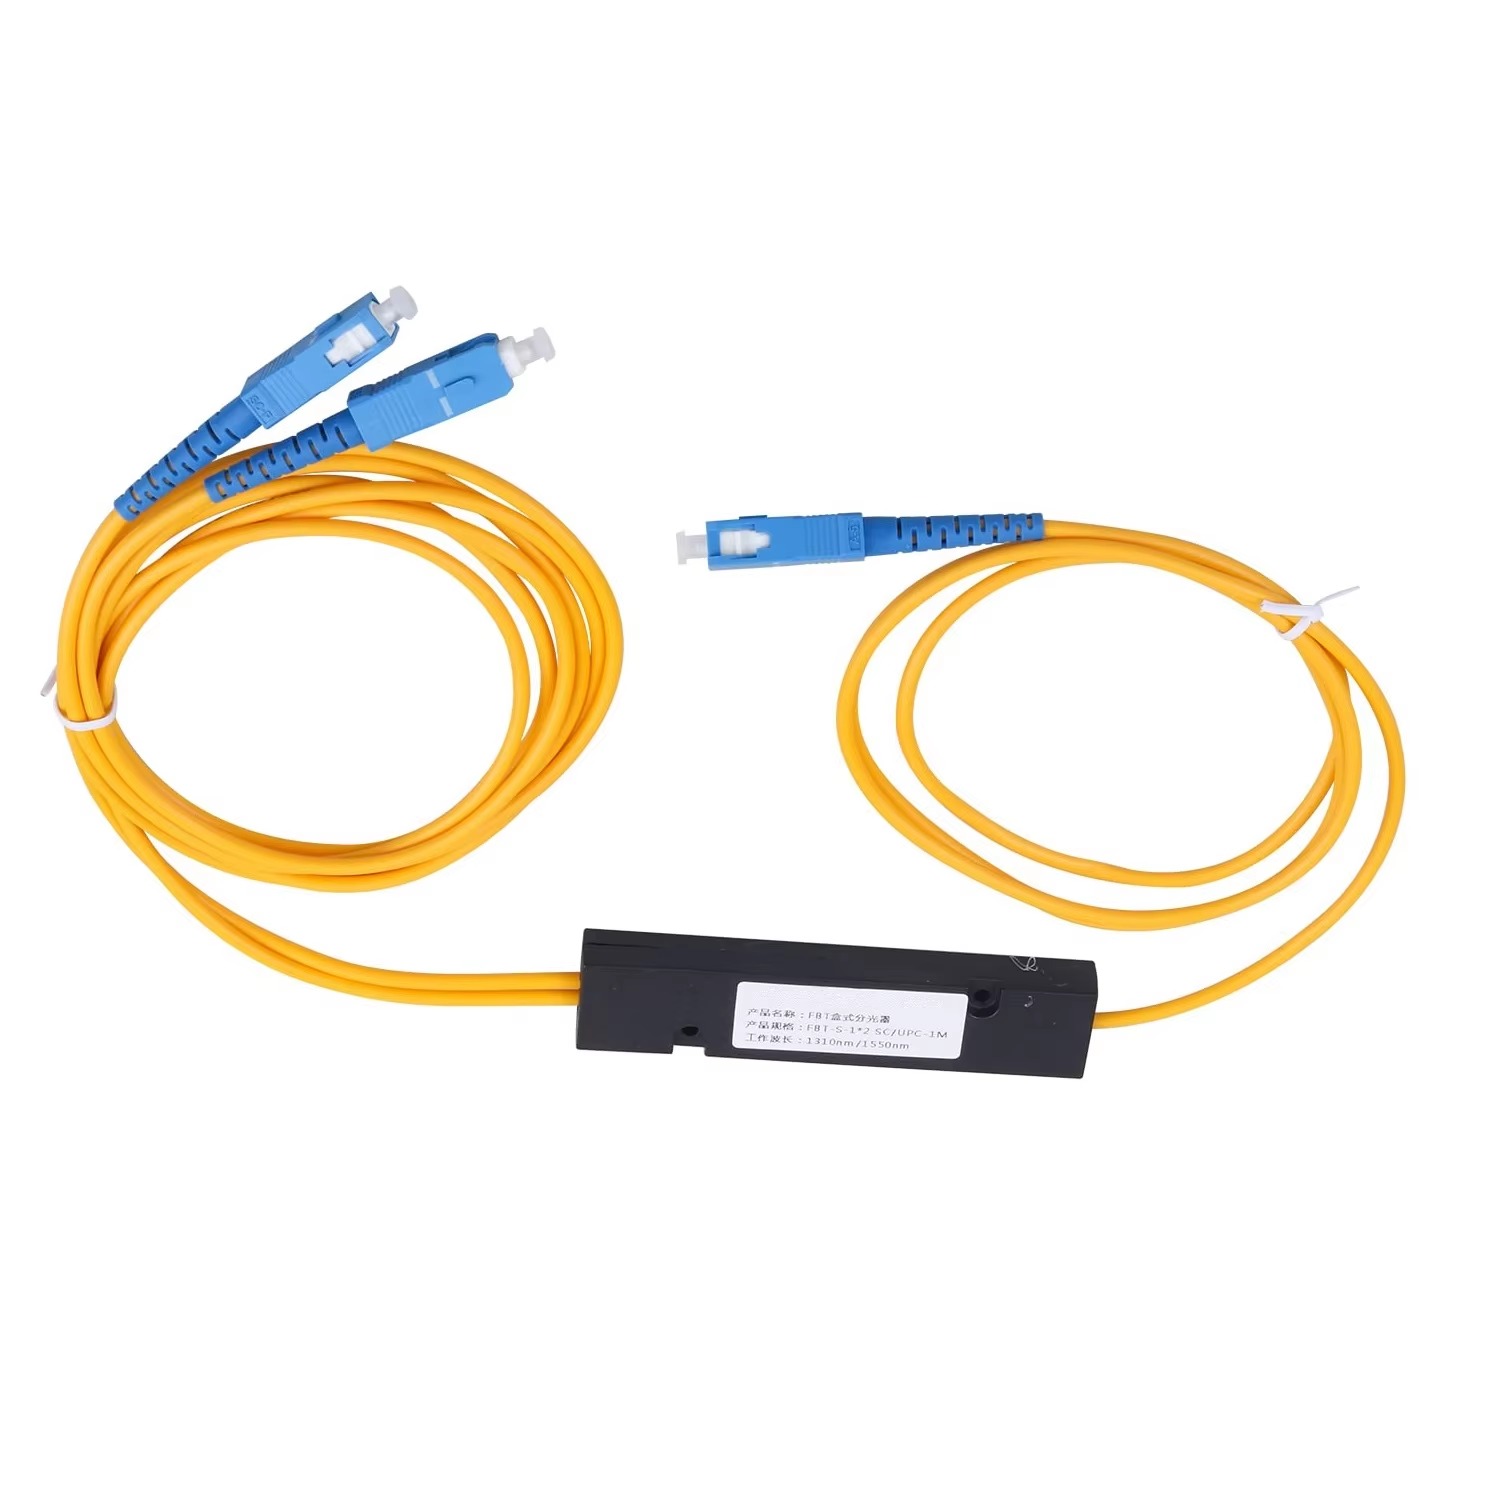
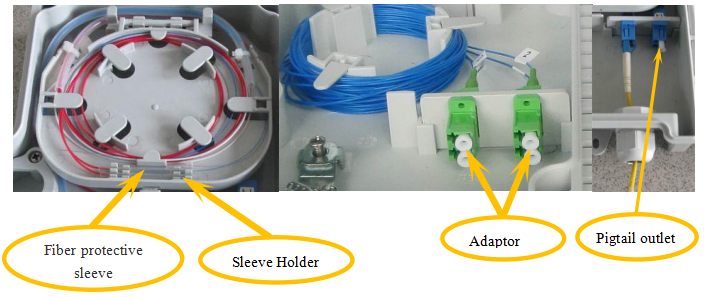
5 Mount adapter, insert pigtail; cover inputting pigtail with EVA sleeve, introduce into splice tray, fix by nylon ribbon then cover with splicing sleeve(if there is optical splitter inside ,please follow the indication below:insect into adapter by pigtail after introduced the cable into optical splitter); splice pigtail and inputting fiber together; cover with Shrinkable sleeve and insect into the sleeve slot which is lay on the splice tray, coil fibers on splice tray; coil spare pigtail on the loop at the bottom of the box .
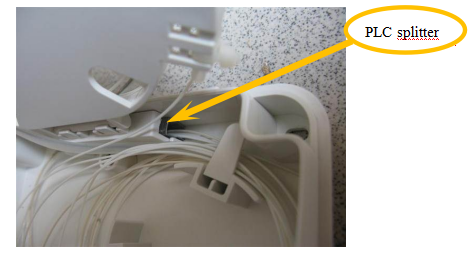
5.1 Open the screw, install the splitter, and then tight the screw to fix the splitter. ( Optional operation)
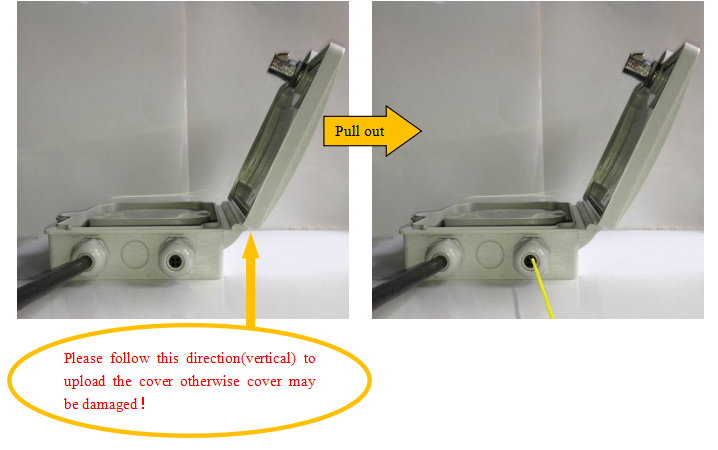
6 Unload and upload the cover
1 Drill the 4 holes on the wall for M4 plastic expansion screw as below pictures

2 Put M4 plastic expansion screws into holes.
3 Mounting the box on the wall by 4×30self-tapping screws. Cover the box, and lock it.

Copyright © 2026 Shanghai Wanbao Optical Technologies Co.,Ltd. All rights reserved. — Privacy Policy

 EN
EN